Skip to content


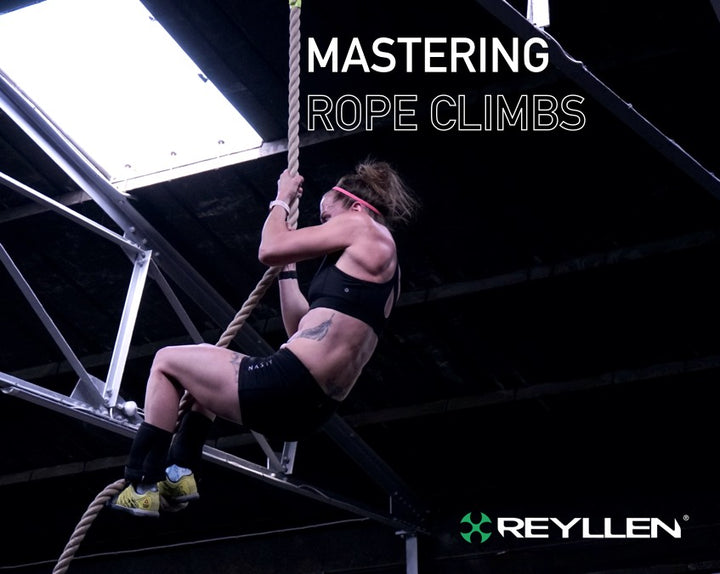
Mastering Rope Climbs 101

1. Introduction
Rope Climbs have been around for a long time in CrossFit community. It is a movement we have all seen or learned in high school PE classes (well most of us). It is a staple movement that quite frankly everyone should know how to do. The idea of knowing how to climb up a rope should be a foundation of everyone's fitness. The coordination, grip, upper and lower body stamina can be translated to many other movements. CrossFit first introduced the rope climb to our worldwide community officially in 2010 CrossFit Games in the final event of the competition. Iconic moment in history of CrossFit Games when Rich Froning failed a few. This wasn't about strength or fitness for Rich, it was purely the technique. Froning has mastered his rope climbs since and is considered to be among the best in the world at climbing a rope. We will take a look Froning's unique technique in more detail below.
2. Breakdown
There are two different types of rope climbs - standard (with the use of legs) and legless. Legless rope climbs are fairly straight forward and require upper body stamina, we will cover these in another post. The standard rope climb is much more complicated in a sense of different elements required to master. This will be broken down into sections - The Catch, The Lock, The Pull, The 2nd Pull and The Descent.
3. The Catch
This is the first and arguably the most important piece to master before even performing a rope climb. The catch can be easily practiced on the ground while sitting on a box or a chair. During the catch you will need to learn the technique required to "catch" the rope with your feet and proceed to lock it in.
There is one simple principle involved performing the catch. Find the rope with your guide foot and place it between your toes and your laces. It sometimes helps to lift your toes towards the rope to keep it in place. Once you get the rope in the pocket you can then move that same leg up towards your hips with your knee out, similar to a pigeon stretch position.
While the guide foot is keeping tabs on the rope, your other foot (the lock foot) will be getting ready to come up and around the top of your guide foot to lock the rope between your legs so you can then stand up and pull your self up the rope. There are two styles for this and we have some videos and images to show you the differences.

3. The Lock
Style 1
Style 1 is the most common technique taught and used by athletes worldwide. When you jump up on the rope you will have to move your knees out of the way to bring your feet as close to your hips as possible to create distance you can travel up the rope. One foot being at the top and the other at the bottom they will both be close to each other. In Style 1 the "guide" foot (one that is leading the rope into position) will be the top one. The bottom foot which we will refer to as the "lock" foot will be the one that will be clamping the rope onto the guide foot. As the guide foot tracks the rope between the toes and the laces we can see that both feet are inside the body while the rope is outside the body. This is a key thing to remember. The guide foot moves up towards the hips with the rope passing between the toes and the laces while the lock foot catches the rope from an opposite side (think of your feet as scissors and the rope as paper). Once you reach the desired height with your guide foot, the lock foot comes from below to clamp the rope. In the beginning of the movement, the guide foot was at the top, however, after you've clamped the rope, your lock foot comes up and above the guide foot and both tips of the feet now on top of each other.

Style 2
Style 2 is the "Froning" Style. Very similar to Style 1 with some differences. In style 1 the rope is locked with your feet on the outside of your body. The rope is in front of your feet and the lock foot comes in from the inside of your body towards the rope to meet the guide foot.
In Style 2 the major difference is that the lock foot comes in from the outside of the rope and meets the rope with the heel rather than the forefoot. This is the technique Rich Froning uses and personally I have found it more effective as well. However, both techniques provide adequate efficiency when used correctly.
Another big difference here is that the guide foot is now the one that is lower and the lock foot is the foot that is on the top and will be locking the rope down from the top.

4. The Pull
I have seen this done wrong many times and it truly is an easy fix. Unlike legless , standard rope climbs allow for the use of legs so why make it more difficult on yourself? You nailed the catch, you nailed the lock, now it is time to position yourself on the rope to save your arms and use those legs to stand up. Positioning plays a very important role if you are to save your arms for the rest of the workout. Many athletes start pulling straight away after they lock the rope between their feet. The trick here is that you should pull the rope down and behind you to get yourself in an upright position (similar to a squat). This will bring the rope as close to your chest as possible to take heat of the arms and grip. Once upright and vertical you can easily just stand up and move your arms along the rope.

5. The 2nd Pull
You've made it up the rope. Now that you are upright with legs extended and hands at your eye level, the nest step is to perform the 2nd and alternatively 3rd or 4th pull. These are all the same so we will just cover the 2nd pull. The idea now is to move up the rope efficiently while keeping the body as vertical as you can and not straining the grip or your arms too much. With the rope locked in between your feet you can move your hands up and extended into a higher position. Grip the rope and release the lock. Try and release the rope only as much as needed for your feet to come as close to your hips as possible to re-lock the rope again. You should, however, resist the urge to lean back as this will not add much height to your 2nd pull, but most certainly will fatigue your grip and arms. Remember, once you are on the rope, the hardest part is over. Now it is time to keep vertical and move up in the most efficient way.

6. The Descent
Don't forget, we have to come down now. You've reached the top (most rope climbs are 15ft) so how do we come down? There are many ways to do this, but whatever technique you decide to use, the goal should always be the same - save your arms and grip. The easiest way to come down is to let go, but you might end up with broken ankles or worse, so I do not recommend this. Personally I find the easiest and most energy saving way to come down is to extend your legs and keep the knees locked out while also keeping the rope locked between your feet. In this position you should do what you can to keep the rope as close your body and you body as vertical as you can. Use the combination of releasing some tension from the rope by your feet and your hands to slide down the rope in a manageable speed. The individual techniques will vary, but staying upright and tall will save you a lot of energy down the line.
7. Protection
There are few things worth mentioning to save yourself some scrapes and burns along the way - taping and protection. When performing rope climbs the rope is very close to the body and especially on the way down it can leave some nasty burns on the legs, therefore we recommend placing your knee sleeves down your ankles to protect from friction burns.
Secondly, this is often overlooked, however, taping your fingers may also help save your palms from getting shredded. Having done a few rope climbs in a workout or practice you will start noticing your grip getting weaker. This results in less purchase on the rope and eventually you may experience your hands start slipping on the rope. Taping the pinky and ring fingers will help save these areas from friction burns. Since your grip on the rope is vertical, the bottom two fingers carry the most load and will be the first to rip if it comes to it.